How to transfer files over 4 GB from Android to a Mac

I had to do some fairly deep digging to get this answer, so maybe I can help someone else.

I’m an Apple guy. But lately I’ve been having to record some video with a phone on a tripod, unattended. I don’t want to risk getting my iPhone stolen, so I’ve been using my Android testing phone instead (a Google Pixel 3a). It actually shoots pretty decent video, but getting that video off the Pixel and onto my Mac has been… a challenge.

After some initial digging the first time around, I discovered Android File Transfer. It’s a Mac app that lets you access the Android file system and transfer files over a USB connection. It’s just hard to remember exactly how to get it to work, at least for someone like me who is not super familiar with Android. The short version is you have to go into the Android device’s USB settings and turn on File Transfer mode.

Today I had a new problem. Once I got connected, I started to transfer two very large video files (16 GB and 9 GB) over to my Mac. All seemed to be going well, until I hit exactly 4.00 GB in the transfer, then it just stalled. No warning, no error. It just stopped transferring. Trying to cancel the transfer also didn’t work.

It’s really stupid that the app doesn’t just tell you this up front — or, like, you know, ever — but after digging into the issue, I learned the app has a 4 GB file size limit. I didn’t investigate why, but having dealt with this kind of nonsense on the Windows FAT file system in the past, I suspect it’s a stupid legacy quirk no one has ever considered important enough to fix.

Anyway, I needed another solution, and I found it. FTP. Specifically, I chose to use the WiFi FTP Server app. I mean really, you could use an FTP client app to transfer files to an FTP server, or install an FTP server on your Mac, but it just seemed easier to me to make the Android phone the FTP server, and let my Mac connect to it with Panic’s trusty (well… it used to be trusty, but that’s another blog post) FTP client, Transmit.

The FTP transfer is over WiFi, as the name implies, so yes, it’s slower than the wired USB connection. But… and here’s the key thing… it works.


P.S. After several minutes of the transfer running, I glanced down and noticed that the WiFi FTP Server app (which, of course, like most Android apps, is free to download) has an ad bar at the bottom. I hate to break it to those advertisers, but they are not getting any kind of R.O.I.

Don’t use JPEG for logos… and don’t think you can solve the problem by re-saving the JPEG as a PNG

Once you go JPEG, you can’t go back.

You may recall having seen this previously on my blog:

DON'T USE JPEG FOR LOGOS…...USE PNG INSTEAD

I’ve been singing the “Don’t use JPEG for logos!” refrain for so long that most of my clients (and whoever they’re dealing with to deliver logo image files to them) know logos on the web should be in PNG format (or even better, SVG), not JPEG.

But a lot of people don’t seem to understand that you can’t turn a JPEG into a PNG.

Oh, sure, you can technically do that. By which I mean, you can open a JPEG in Photoshop or a similar image editing program, and save it as a PNG. But doing that won’t fix anything.

JPEG is a “lossy” format. That means that its compression algorithm permanently loses data about the image for the sake of a smaller file size. There’s no way to get that data back. PNG is not a lossy format, which means that it compresses the image data in a way that it can faithfully recreate the original input image.

So, what do you think happens when you open a JPEG and re-save it as a PNG? That’s right… it looks exactly like the JPEG did.

Like I said at the beginning, once you go JPEG, you can’t go back. The only option is to track down the original source image in a lossless format, or to manually clean up the results as best as you can.

I wish I could say I’ve never done this, but I’m a pragmatic individual, and I also like to try to solve problems myself… it’s often faster and easier than tracking down the original source. More times than I can remember, I have used the flood tool to turn splotchy logos back into blocks of solid color — doing my best to clean up the anti-aliased edges. And when the characteristics of the logo are right, I’ll often re-set the text in the original fonts (recognizing fonts by sight is a valuable skill), tweaking Bezier curves if the logo has any customizations, and then try my best to faithfully recreate object shapes by tracing them with the pen tool.

It’s perversely kind of fun, and I especially like when I can do it without even bothering to tell the client. They usually just care about the results, not about how the sausage gets made. Except when the client is an Italian restaurant. Then I let them worry about the sausage.

WooCommerce code snippet: add customer IP address to admin Orders page

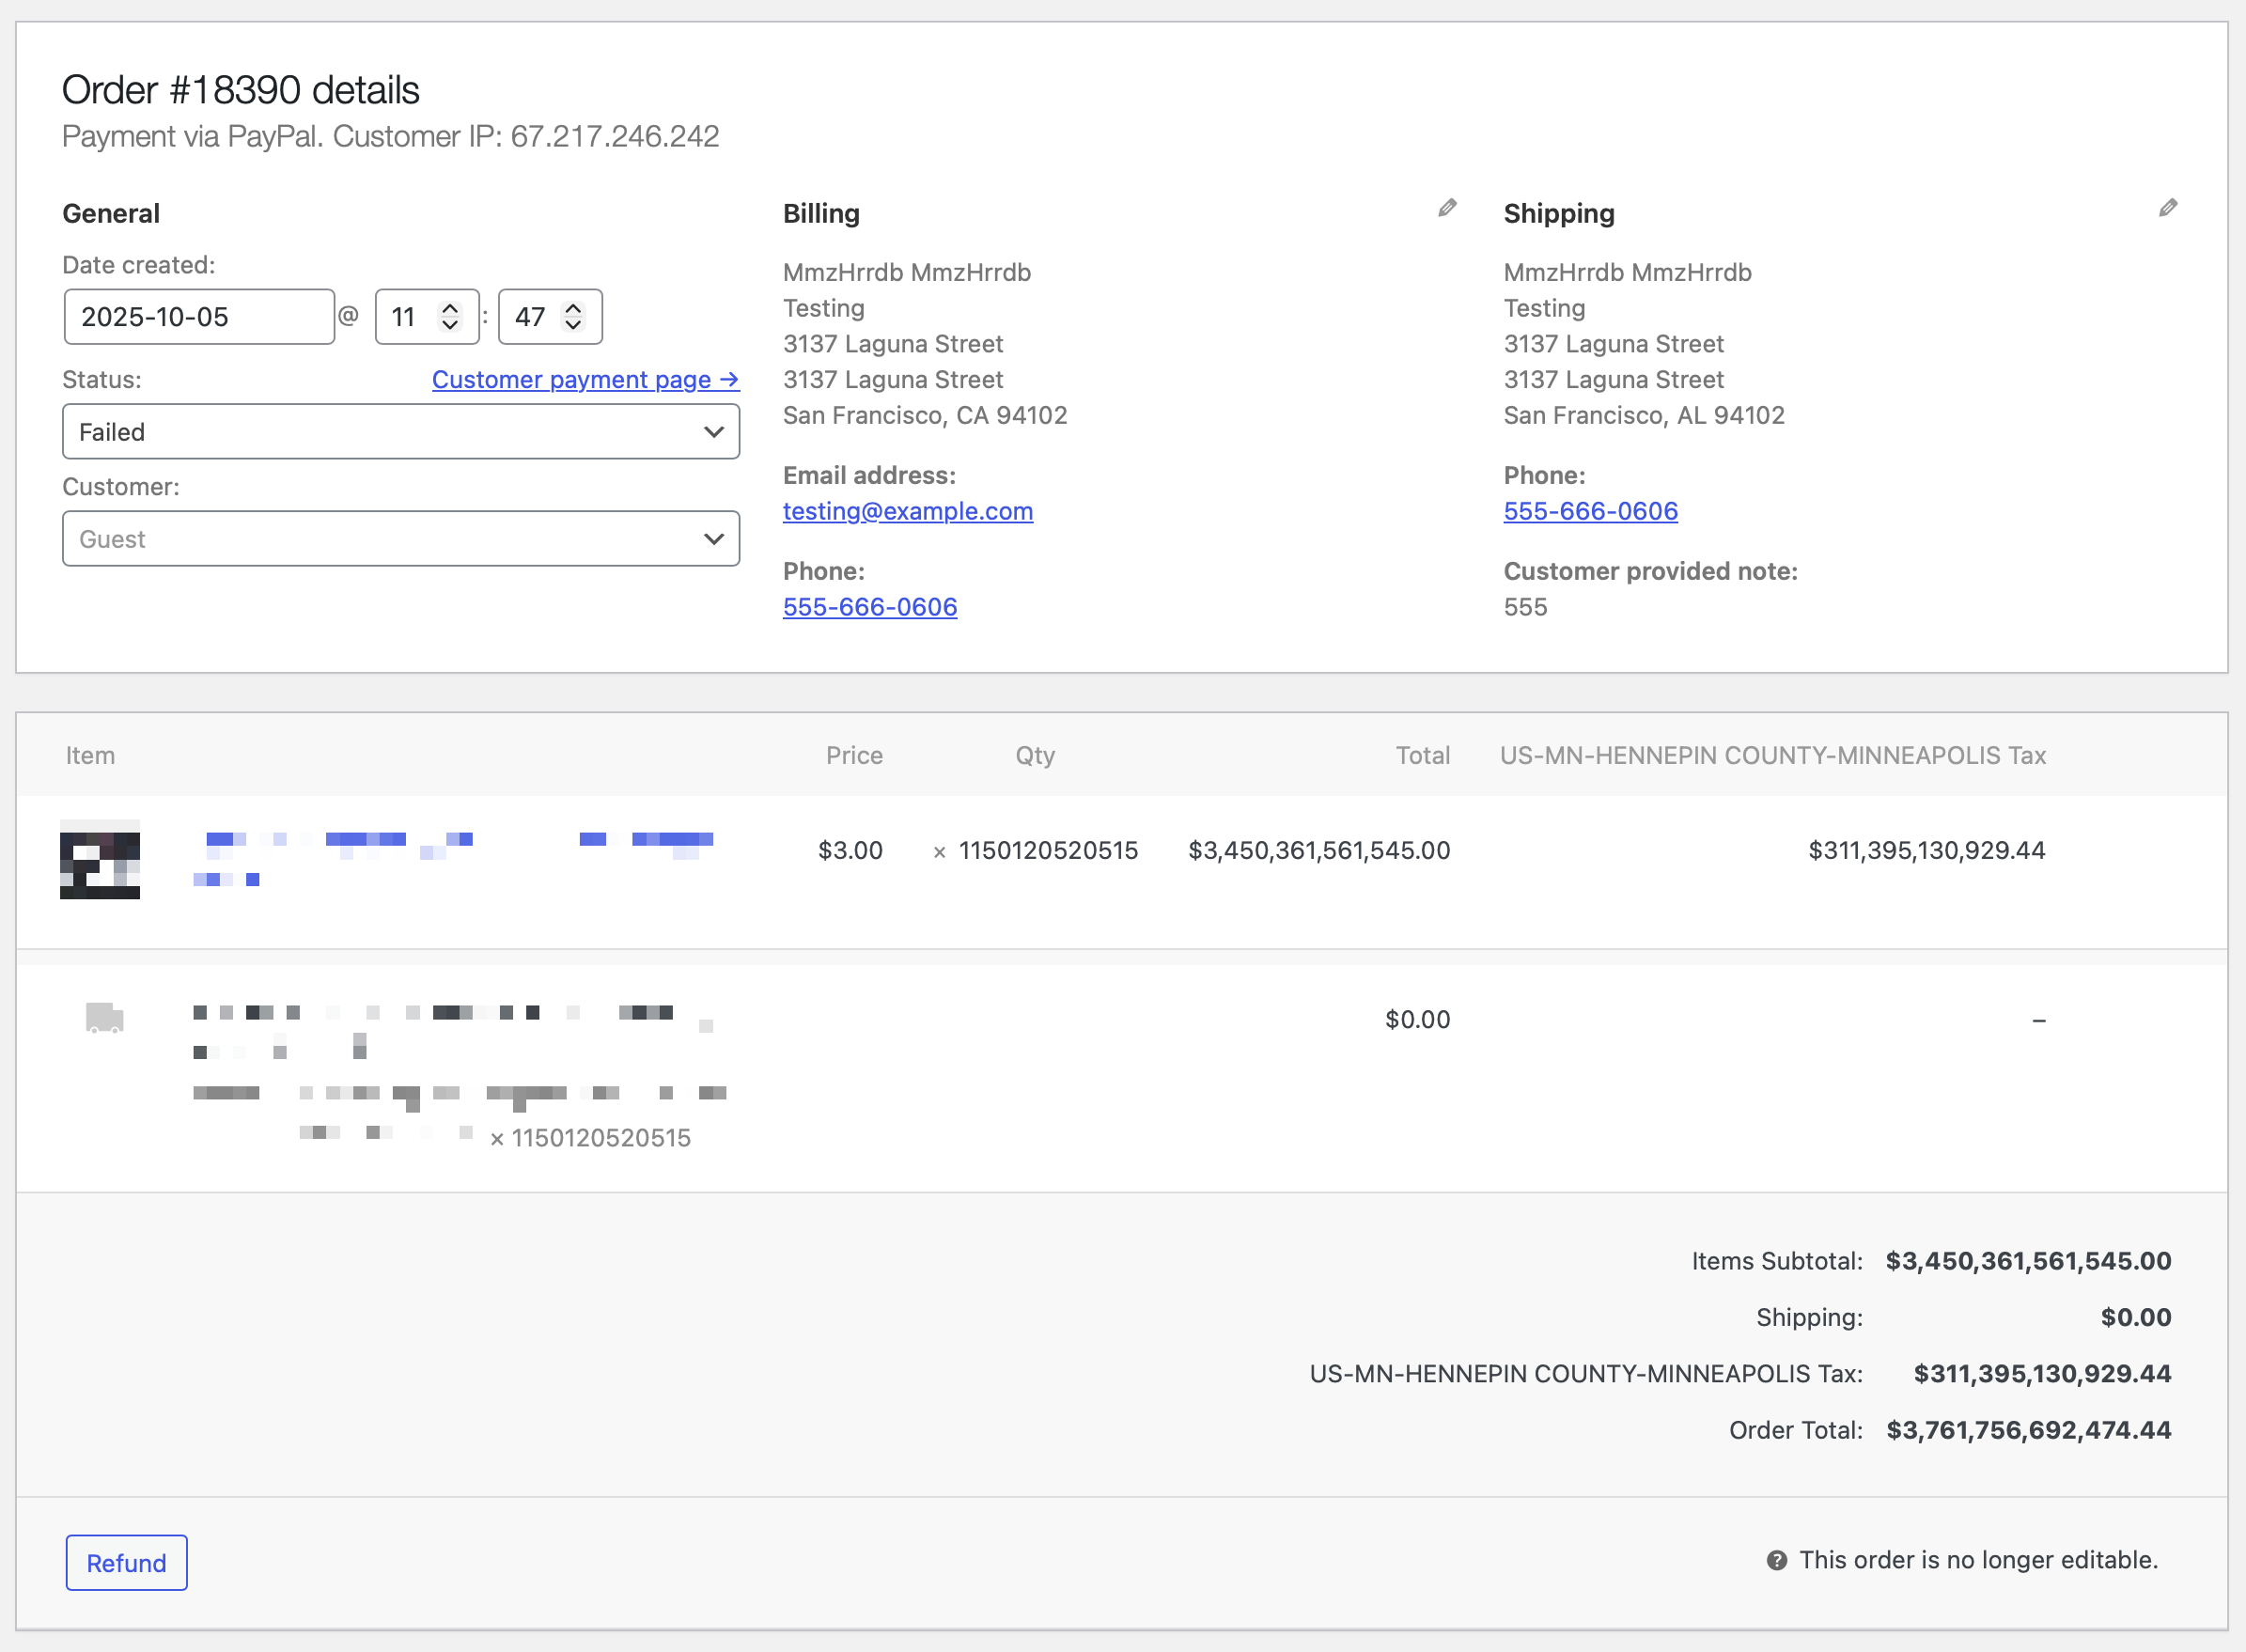
First off, this is not solving a problem. It’s making it easier to deal with the fallout of the problem.

Here’s the problem: bad actors steal credit card numbers, and sell batches of those credit card numbers to other bad actors who like to find ways to test out the credit card numbers to see if any are still active.

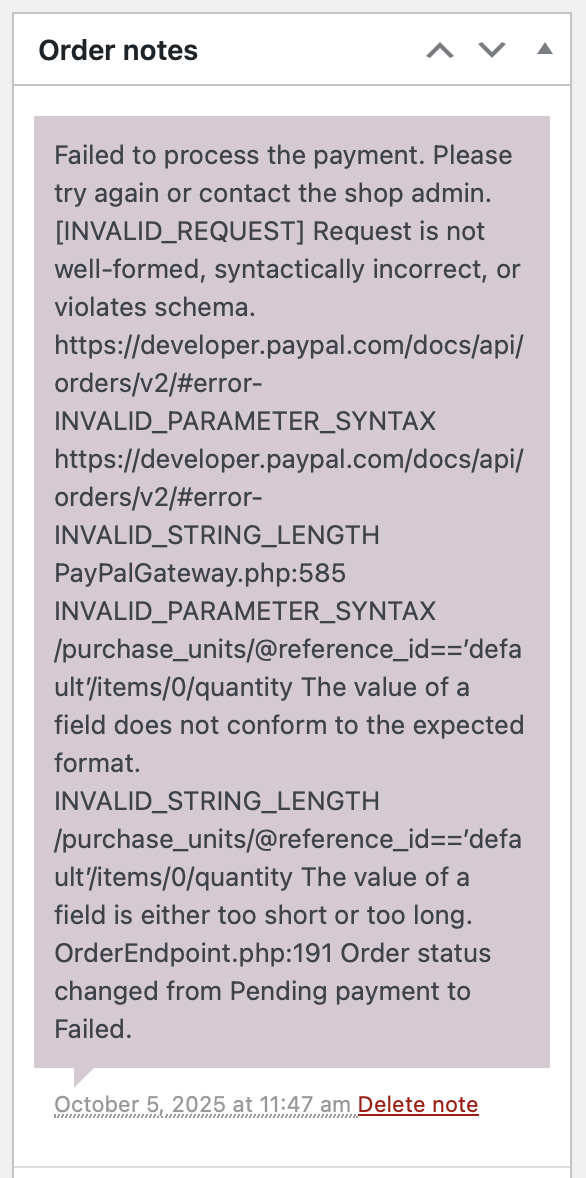
One way they like to do this is to find WooCommerce sites that sell cheap products — especially stickers, which are generally priced at $5 or less — and they use a script to spam the site with fake orders… well, real orders… for these cheap items, using fake contact information and the stolen credit card numbers. Most of them are already canceled and the transactions fail, but a small percentage of the cards are often still active, and the ability to place an order with them confirms it. I suspect the reason they place very small orders is that it’s easier for those transactions to go unnoticed by the real card owners.

Anyway, this is a problem I am seeing with increasing frequency on my clients’ WooCommerce sites, and there are generally two ways I address the problem.

First, I install Brian Henry’s WooCommerce Checkout Rate Limiter plugin. This can be very effective at throttling the scripts that place these huge blasts of orders from the same IP address, which leads to…

Second, I get the fake orders’ IP addresses and block them in the server’s firewall. You can get the customer IP address of any order in WooCommerce by clicking through to the detail page for an order. There are various ways to block IP addresses, including WordPress plugins, but I like to go straight to the source and block them in the ufw firewall right at the Linux OS level.

But the bad actors are perhaps becoming aware of these techniques to block them, and are modifying their tactics. I can see three ways they would do this, although I am only personally able to observe two of them: 1) slowing the rate of submissions, 2) spreading the submissions across multiple different sites, and 3) using different IP addresses. The first and third are the ones I can observe, of course, unless by chance the multiple sites are all maintained by me. (I do support a very large number of client sites, but not enough that this has happened yet.)

Anyway, we are now getting to the point of this post. I wanted a way to quickly see the customer IP address for a whole list of orders, instead of having to click through to each individual order’s detail page. Sure, I could fire up phpMyAdmin and do direct SQL queries, but I prefer the convenience of having this happen right within the WordPress admin. And so, I present to you a code snippet that will add an IP Address column to the WooCommerce admin Orders page:

add_filter('manage_edit-shop_order_columns', function($columns) {
    $columns['ip_address'] = 'IP Address';
    return $columns;
});

add_action('manage_shop_order_posts_custom_column', function($column, $post_id) {
    if ($column == 'ip_address') {
        $order = wc_get_order($post_id);
        echo $order->get_customer_ip_address();
    }
}, 10, 2);

That can go into your theme or a small plugin. The first block of code adds the IP Address column to the table on the Orders page, and the second block outputs the customer’s IP address in that cell in each row of the table.

Of course, this won’t stop bad actors from being bad actors. But it might help you reduce the number of fake orders your clients have to refund.

Sometimes I wonder if anyone at Apple actually uses their products in the real world, episode #532,464: the iPhone QR Code Scanner app

QR codes are a convenient way to open a URL with your phone without having to type a long string of text (especially since it’s hard to avoid typos in a URL on a phone touchscreen).

But.

The iPhone’s QR Code Scanner app in the Control Center has a really annoying feature: It doesn’t open URLs in the Safari app; it opens them in its own embedded browser.

I’m not really sure why Apple chose to do this, or why they don’t realize what an issue it can create for users. What is that issue?

If you leave the app, when you go back to it, you’re back to the camera view for scanning a new QR code, rather than whatever web page you were interacting with.

There is no “history” in Code Scanner. No “back” button on the camera screen.

Sometimes this can be trivial. Sometimes not. Here’s a scenario I just went through that turned out not to be an issue, but it very well could have been.

It was time to renew the vehicle registration on my car with Minnesota Driver and Vehicle Services. (Yes, in most states we’re talking about the DMV, but since Minnesota always has to be different, here it’s DVS.) DVS is getting into the 21st century, and they’ve started emailing out the renewal notices instead of sending paper copies. And, the email included a QR code for me to jump-start the renewal process. Cool!

So, I scanned the code (off my Mac screen) with my iPhone, and started the process. (Maybe it’s possible for the Mac to read QR codes out of an on-screen PDF… I should investigate that.)

At the end of the process, since I was paying with my debit card, I got a pop-up alert from my bank’s app about the transaction. I would have ignored that, but I got two alerts from the bank. Worried I had double-submitted, I jumped over to the bank app. No, it was fine; the second charge was just the 2.15% credit card processing fee the DVS website had warned me about.

But now… oh no! I had been completing all of the process in the Code Scanner app, so the little “back” link at the top left of my iPhone screen took me back there, which of course forgot about that complex series of web form screens I had just stepped through, and blithely displayed the camera again for me to scan a new code. Damn! Was the process complete? Probably. I hope so. I opened up my email and saw a confirmation from DVS, so presumably everything was finished. But I won’t know for sure until I get my tabs in the mail. Ugh.

Now see, here’s the thing I keep forgetting in the moment. When you scan a QR code with Code Scanner, and that QR code is a web URL, Code Scanner opens the page in its own embedded browser. But there’s a little button at the bottom right to open the page in Safari.

If you have the foresight (or memory) to tap on that little Safari compass icon as soon as you’ve scanned a QR code, all will be well with the world. But if you’re just focused on whatever you’re trying to do with the web page you’ve just opened, it’s really easy to ignore the subtle interface differences between the two apps.

I shouldn’t have to play “Can you spot the differences?” like this is a kids’ placemat at a family restaurant in the 1980s. I shouldn’t have to remember to tap the Safari icon if I’m about to embark on a seven-part journey through the minds of the lowest-bid contractors who won the job to develop a government website.

Apple needs to understand how its products are used in the real world.

An even dumber workaround for how dumb CSS hyphenation is

Look, it’s all well and good that CSS has a hyphens property. The problem is, that property is really dumb. It’s all-or-nothing, with no rhyme or reason to whether a word absolutely needs to be hyphenated. It will literally hyphenate any and every multi-syllable word at the end of a line.

You really almost never want that.

In my particular case, I’m looking at a very specific situation. Specific, but I am guessing probably the most common situation where a web developer wants a browser to hyphenate words: words in large headings that are too long to fit on a line. What I mean here is individual words that are by themselves too long to fit on a line, typically in a mobile browser, in headings with large or extra-wide fonts.

There are proposals to improve this, but there is currently nothing with broad browser support. So I invented my own.

This is a crafty little combination of CSS and JavaScript. (OK, technically it’s jQuery, but you could reasonably adapt this to vanilla JavaScript if that’s your thing. Since I’m deeply immersed in the jQuery world of WordPress, I just went with jQuery because it’s simpler for me that way.)

The first thing you need is a special CSS class for hyphenation. Since I only want it to apply on mobile devices, I gave it a logical name, and defined it in my CSS media query for the mobile breakpoint:

@media screen and (max-width: 782px) {
    .hyphenate-on-mobile {
        -webkit-hyphens: auto;
        hyphens: auto;
    }
}

OK, with that set up, then we just need a little jQuery function to determine where it’s going to be applied. I want it to get added automatically to any h1, h2, h3 or h4 tag. (I’m skipping h5 and h6 because they’re small enough text that we shouldn’t need it.) I also made the somewhat arbitrary decision to set the minimum word length at 15 letters. This is something you may need to adjust based on your font size. Here’s the jQuery:

jQuery('h1, h2, h3, h4').each(function() {
    var words = jQuery(this).text().split(' ');
    var i = 0;
    var hyphenate = false;
    while (i < words.length) {
        if (words[i].length >= 15) { hyphenate = true; break; }
        i++;
    }
    if (hyphenate) {
        jQuery(this).addClass('hyphenate-on-mobile');
    }
});

And then you just want to make sure that jQuery gets fired off when the page loads. It works!